Why Use RDA Cloud Replay?
- Validate before production: Test your trigger logic with real data before deploying to physical systems
- Safe experimentation: Try different trigger configurations without any risk
- Fast onboarding: Get hands-on experience immediately
Workflow
- Upload your rosbag - creates a system automatically
- Configure triggers - define what events matter to you
- Click replay - watch events generate in real-time
- Analyze results - review captured data and refine your setup
Getting Started
Prerequisites
- A ROS2 bag file (.db3 or .mcap format)
- Basic understanding of Heex concepts (systems, datasources, triggers)
- For CLI method: Heex CLI installed and authenticated
Step 1: Upload Your Rosbag
You have two ways to upload your rosbag:Option A: Web Interface (Recommended)
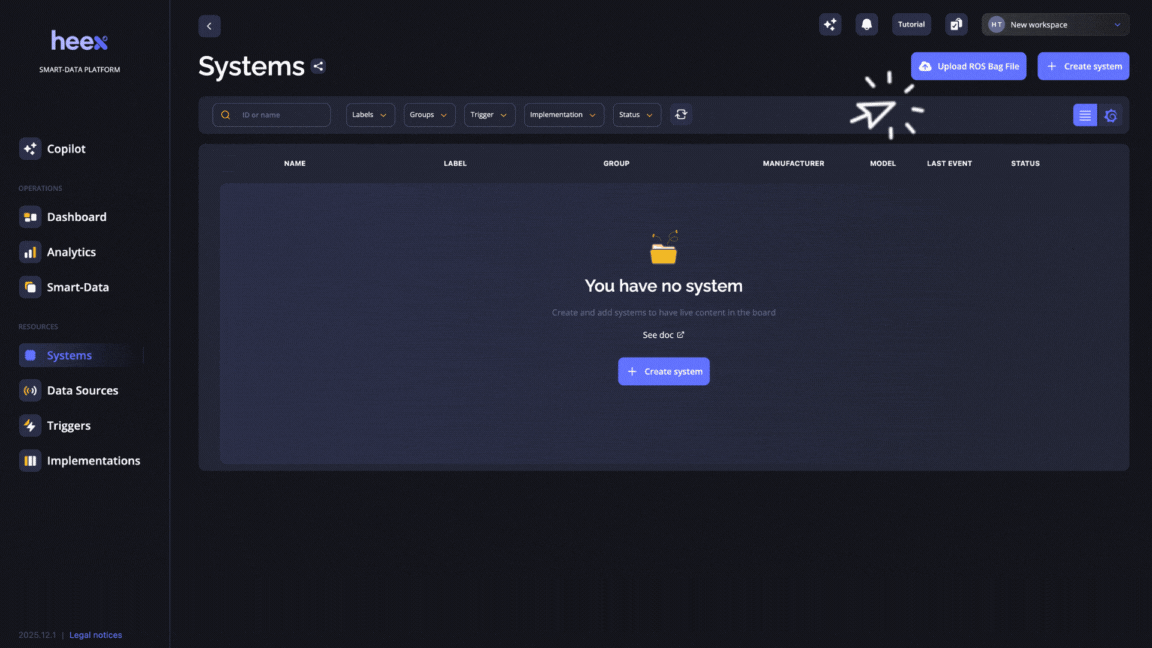
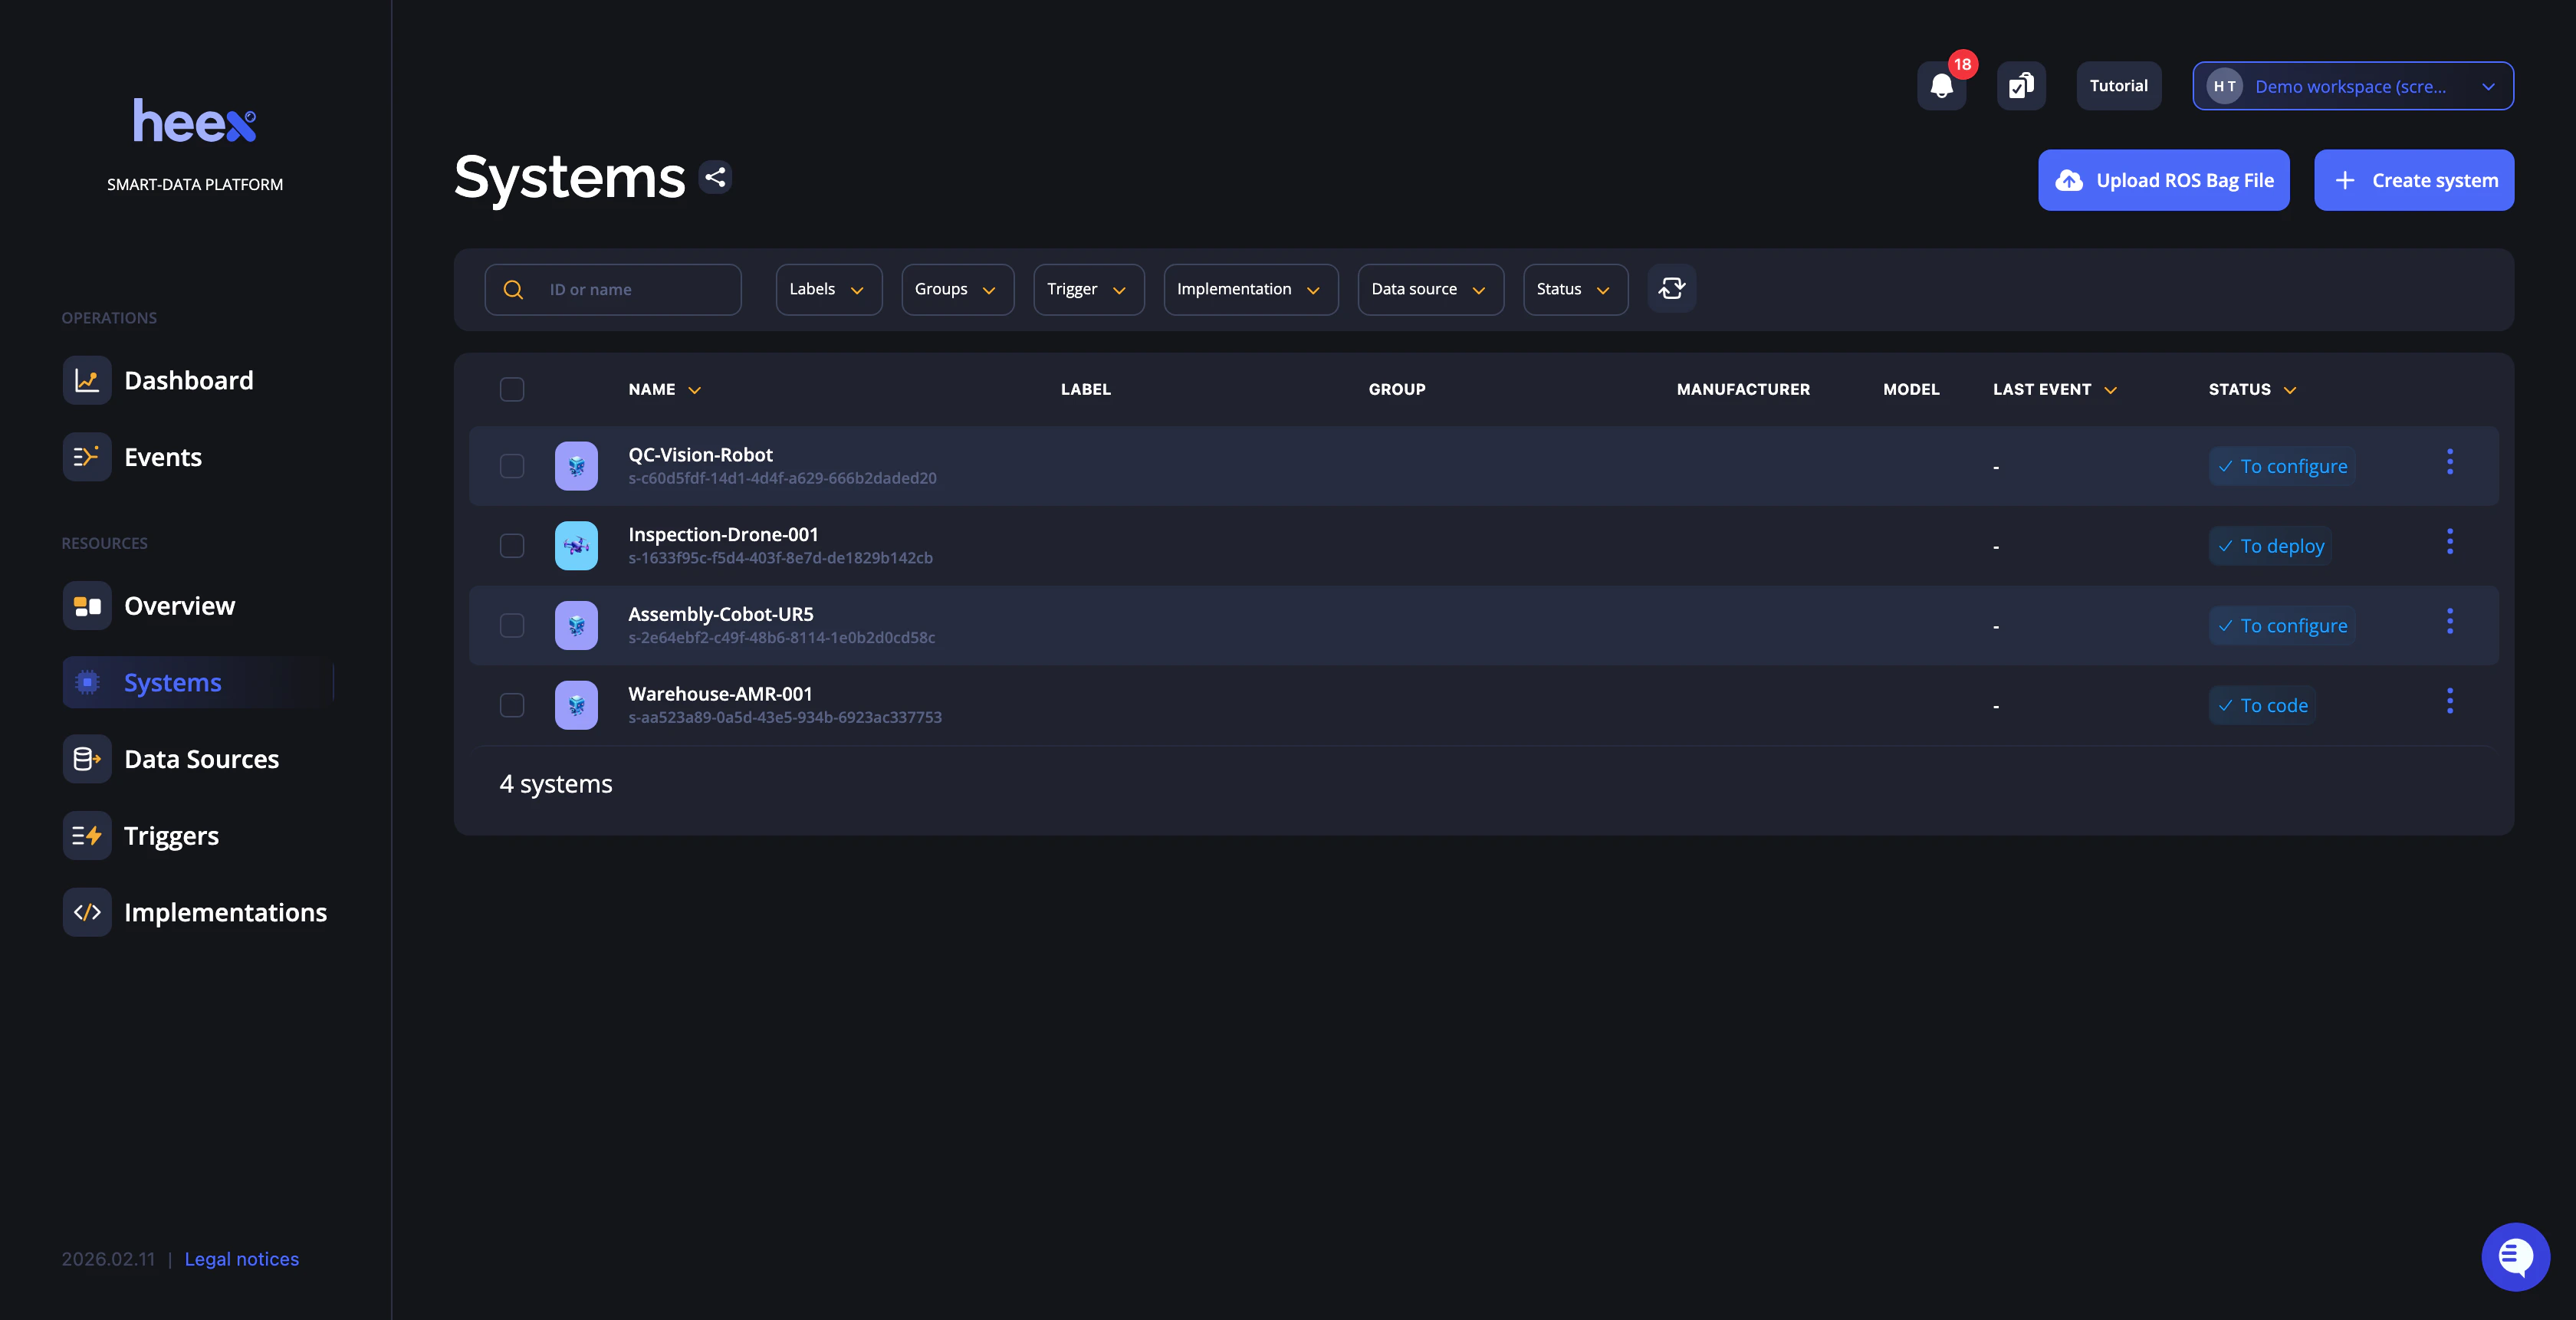
- Navigate to the Systems view in the Heex platform
- Click the “Upload ROS Bag File” button at the top of the systems list
- A modal will open where you can:
- Select your rosbag file (.db3 or .mcap)
- Provide a system name
- Configure basic settings
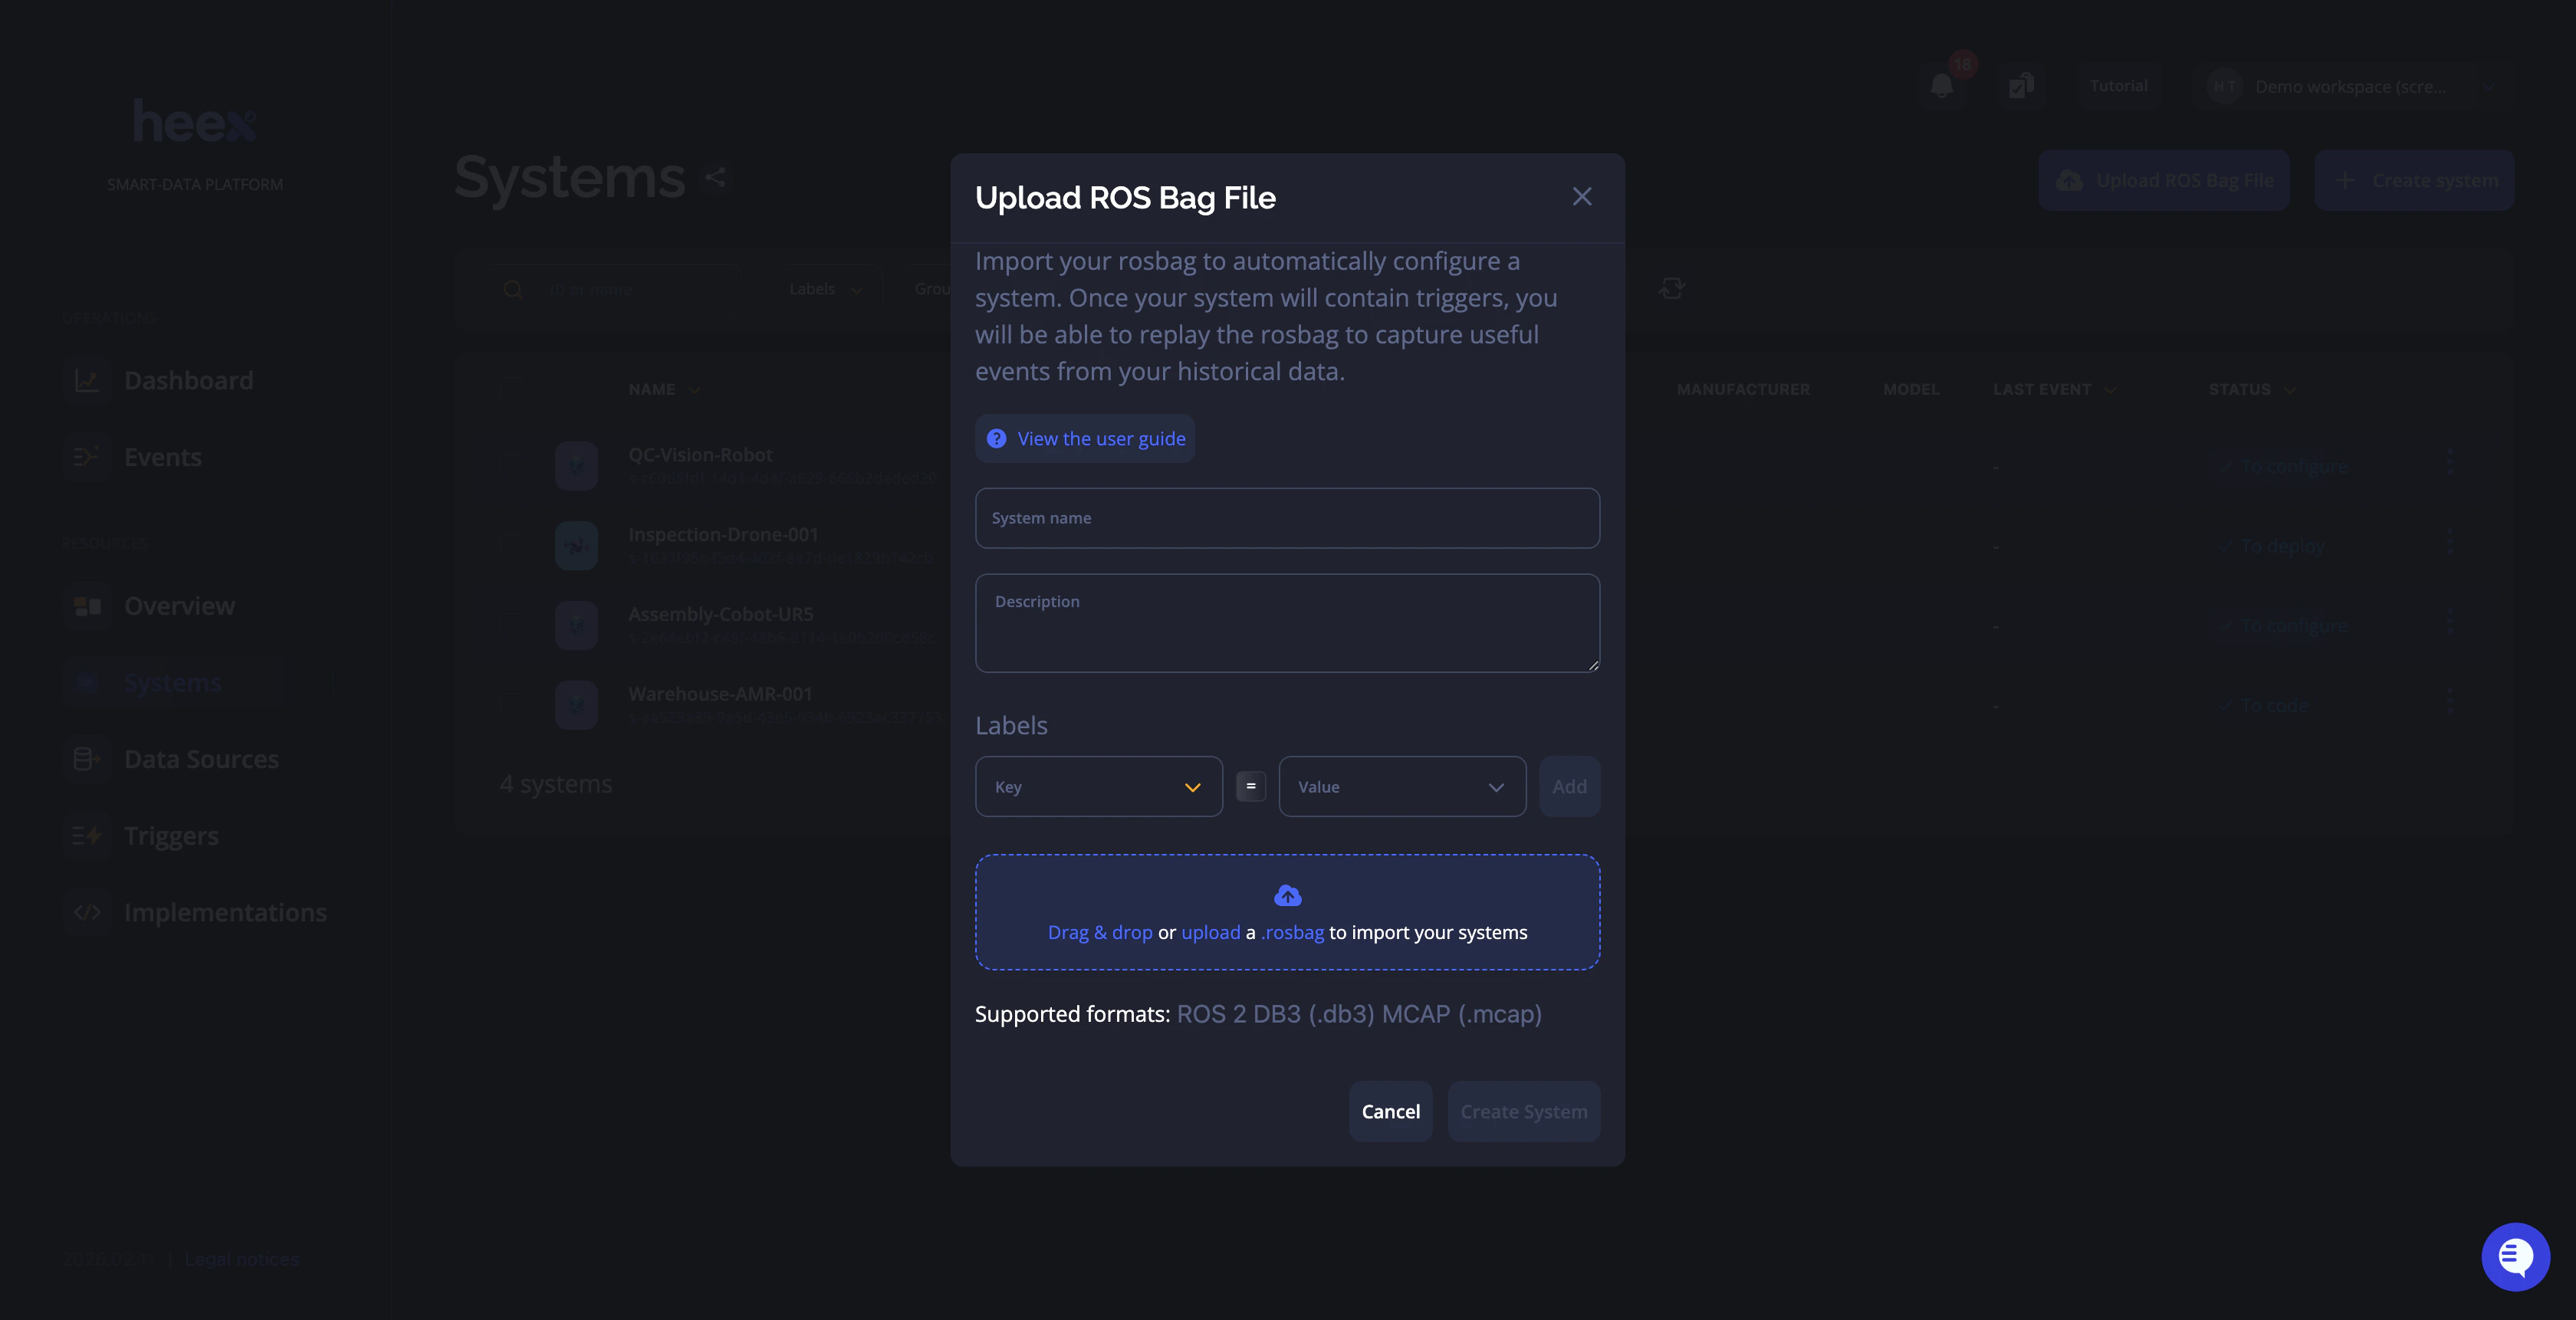
- Click upload - Heex will automatically create a system with a datasource containing all your ROS2 topics
Option B: Command Line
Run this command to upload your rosbag and create a system:Step 2: View Your System
Open the Heex platform and navigate to your new system. You’ll see:- Your rosbag file at the top of the system page
- A datasource containing all your rosbag topics and messages as signals
Step 3: Configure Triggers
Create triggers based on the RDA signals available in your datasource. For example:- High Speed Alert: Trigger when
/cmd_vel/linear/x > 2.0 - Battery Low: Trigger when
/battery_state/percentage < 20 - Collision Detection: Trigger when
/obstacle_distance < 0.5
- The web interface (recommended for first-time users)
- The CLI:
heex trigger create- see Trigger CLI Command for more details
Step 4: Replay Your Rosbag
On the system page, click the “Replay” button. Heex will replay your rosbag and generate events based on your triggers.Step 5: Review Your Events
Navigate to the Events view to see what was captured. Each event will have:- Labels from the system
- Labels from the trigger that generated the event
- All recordings selected in the trigger configuration
Use Cases
Quick Validation
Challenge: Test if your trigger logic works before deploying to production Solution: Use a rosbag from your actual system, configure triggers, and validate event generation Result: Confidence in your configuration before production deploymentOnboarding & Training
Challenge: New team members need to understand Heex without access to physical systems Solution: Provide sample rosbags and guided exercises using Cloud Replay Result: Hands-on learning experience in a safe, controlled environmentWhat to Know
- Upload available via both web interface and CLI
- Works with RDA datasources only (custom monitors not supported yet)
- File size limits may apply
Best Practices
Preparing Your Rosbag
- Keep it focused: Use shorter rosbags (1-5 minutes) for faster processing
- Include relevant topics: Ensure your rosbag contains the topics you want to monitor
- Test with representative data: Use rosbags that reflect real-world scenarios
Configuring Triggers
- Start simple: Begin with one or two basic triggers to verify the workflow
- Use clear conditions: Make trigger logic easy to understand and debug
- Label appropriately: Use descriptive names for triggers and conditions
Iterating
- Review generated events: Check if events match your expectations
- Refine triggers: Adjust thresholds and conditions based on results
- Re-replay: Upload new rosbags or modify triggers and replay again
Troubleshooting
No Events Generated
Possible causes:- Triggers not configured before replay
- Trigger conditions never met in the rosbag data
- Incorrect signal paths in trigger conditions
- Verify triggers exist and are active
- Check rosbag actually contains data that meets trigger conditions
- Review signal names in the datasource match trigger configuration
Rosbag Upload Failed
Possible causes:- File too large
- Unsupported format
- Network connection issues
- Check file size limits
- Verify file is a valid ROS2 bag (.db3 or .mcap)
- Try uploading again with stable connection
Next Steps
After successfully using RDA Cloud Replay:- Deploy to real systems: Apply your validated configuration to production
- Explore custom implementations: Move beyond RDA to SDK-based custom monitors
- Integrate with your workflow: Use the CLI in CI/CD pipelines for integration