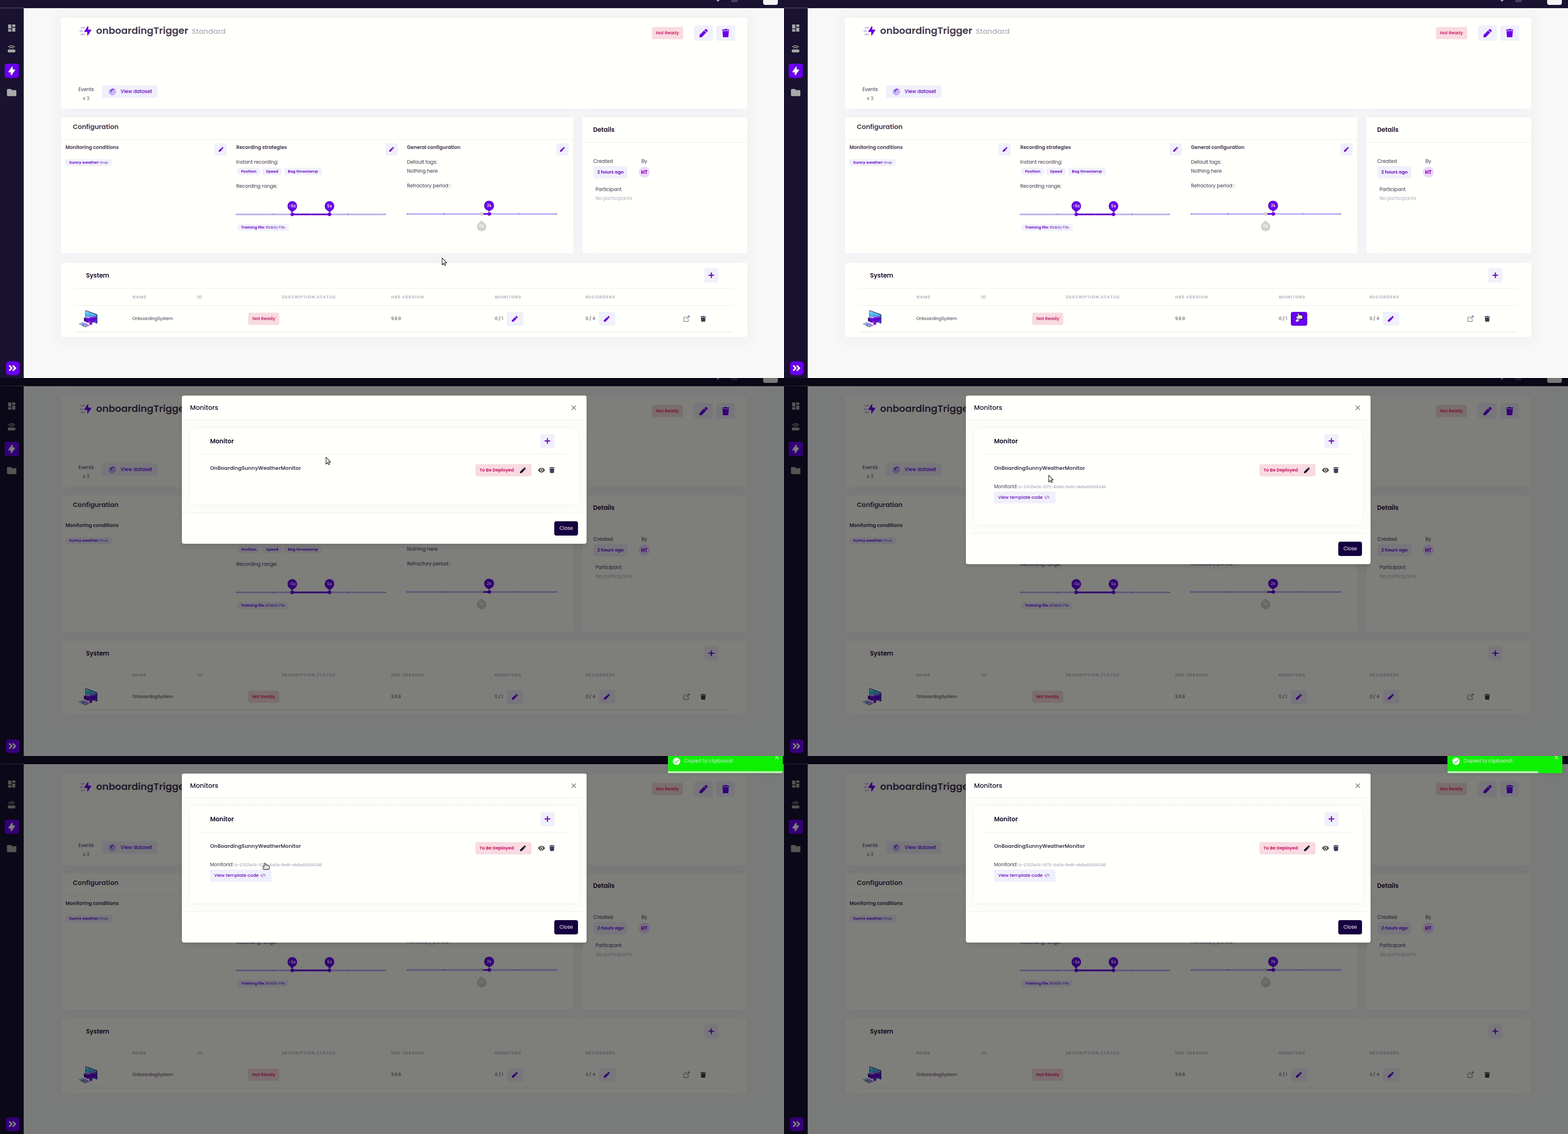
Customize the sample monitor
-
Navigate to the sample
-
Edit your getStartedMonitor.cpp file
- Retrieve monitorUuid value by the UUID of your Monitor in the Web platform

- Replace the monitorUuid value on this line by the UUID of your monitor you have copied in your clipboard:
- C++
- Python
- Retrieve monitorUuid value by the UUID of your Monitor in the Web platform
Overriding of Agent Interfaces
generateRequestedValues()
The generateRequestedValues method should add the recorded value to contextualize your metadata. First navigate to the generateRequestedValues method and notice the two commented parameters.- C++
- Python
-
Uncomment both query and contextValues parameters by removing the
/*and*/ -
Replace the
return true;statement with the following lines to provide position and custom contextual values to your metadata:

generateRequestedFilePaths()
The generateRequestedFilePaths method must return the path of the file your recorder generates. We can simulate it like so:- C++
- Python
-
Create a event recording by creating a file like so:
-
Uncomment the parameters query and filepath by removing the
/*and*/ - Change the return line in your generateRequestedFilePaths method with the absolute path of your file.txt file:
💡 Tip: 🎉 CONGRATULATIONS! You have completed the Recorder phase!For python agents, directly go to step 4.
Compile your monitor & recorder
-
Make sure you are still located in the right folder
-
Compile
💡 Tip:./heex sdk build —build-examples —jobs n
-
Check if you see your Monitor and Recorder executables
- Linux
- Windows
-
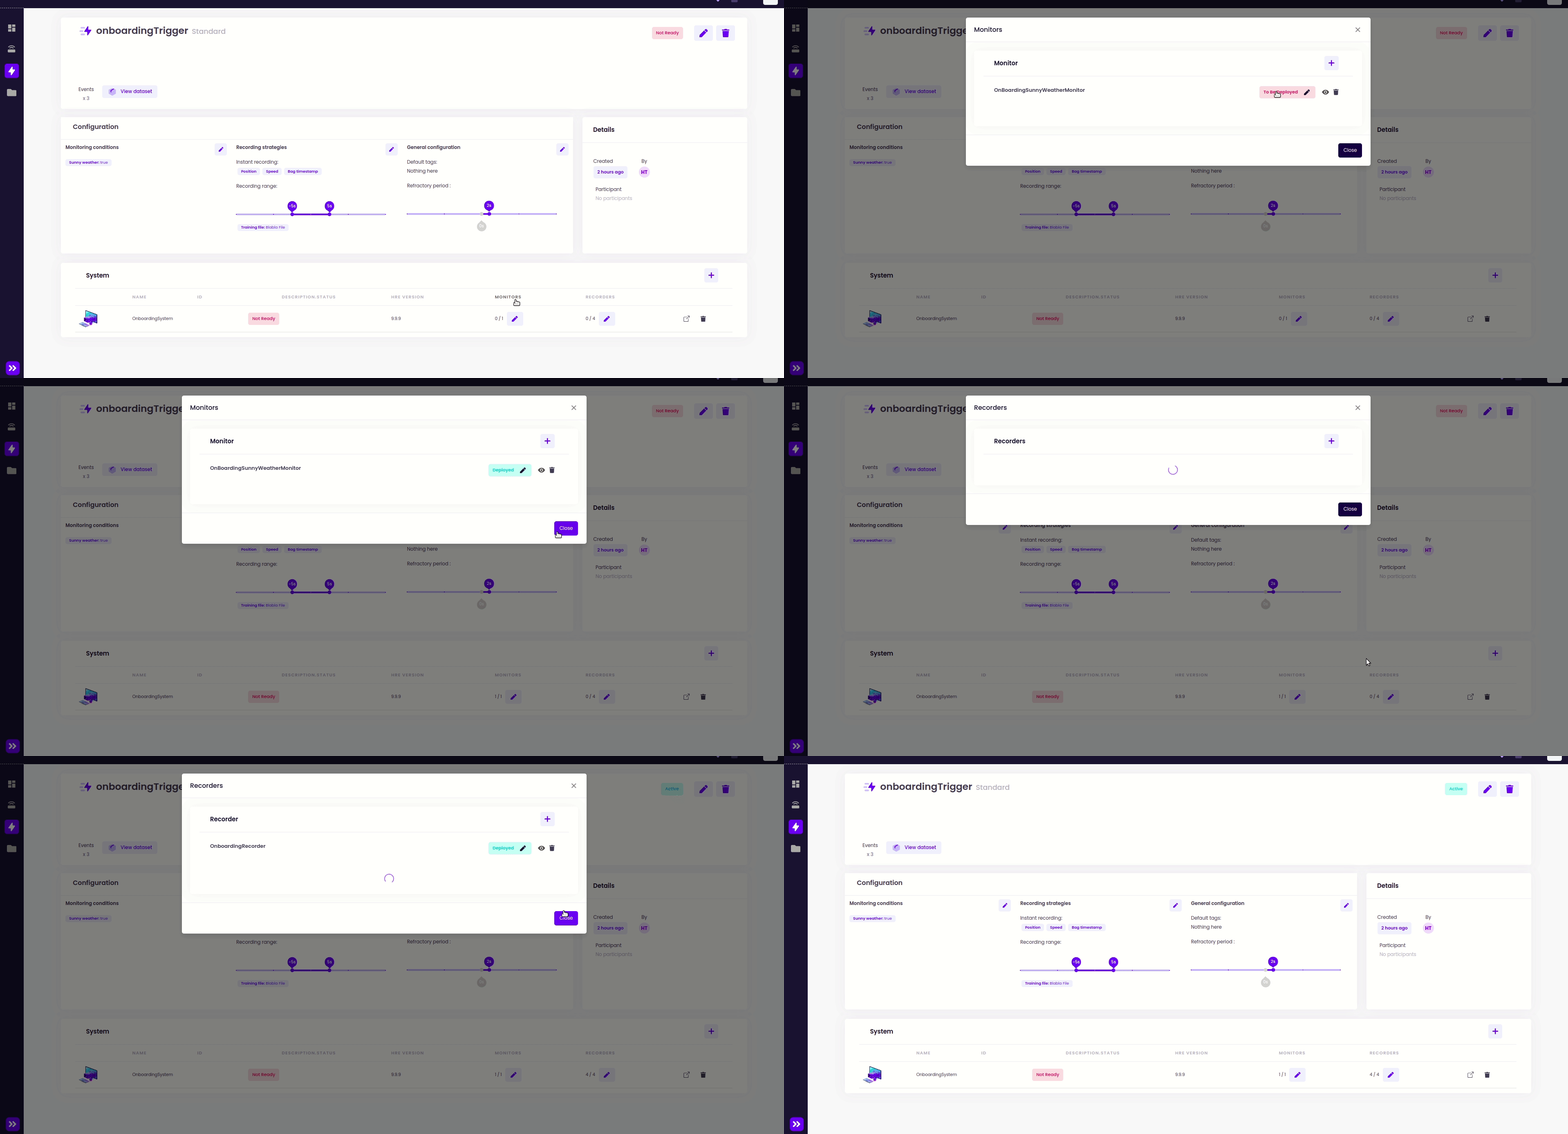
If yes, you can change the status of your monitor and recorder to Deployed in the web platform:

-
The status of your System is now
Ready(after reloading the page)
