Documentation Index
Fetch the complete documentation index at: https://doc.heex.io/llms.txt
Use this file to discover all available pages before exploring further.
Overview and concept
Smart data includes all data sent by your system through Heex triggers, representing the essential data from your systems. You can analyze this data in the Analytics Dashboard, view individual events in the event list, or organize them into datasets.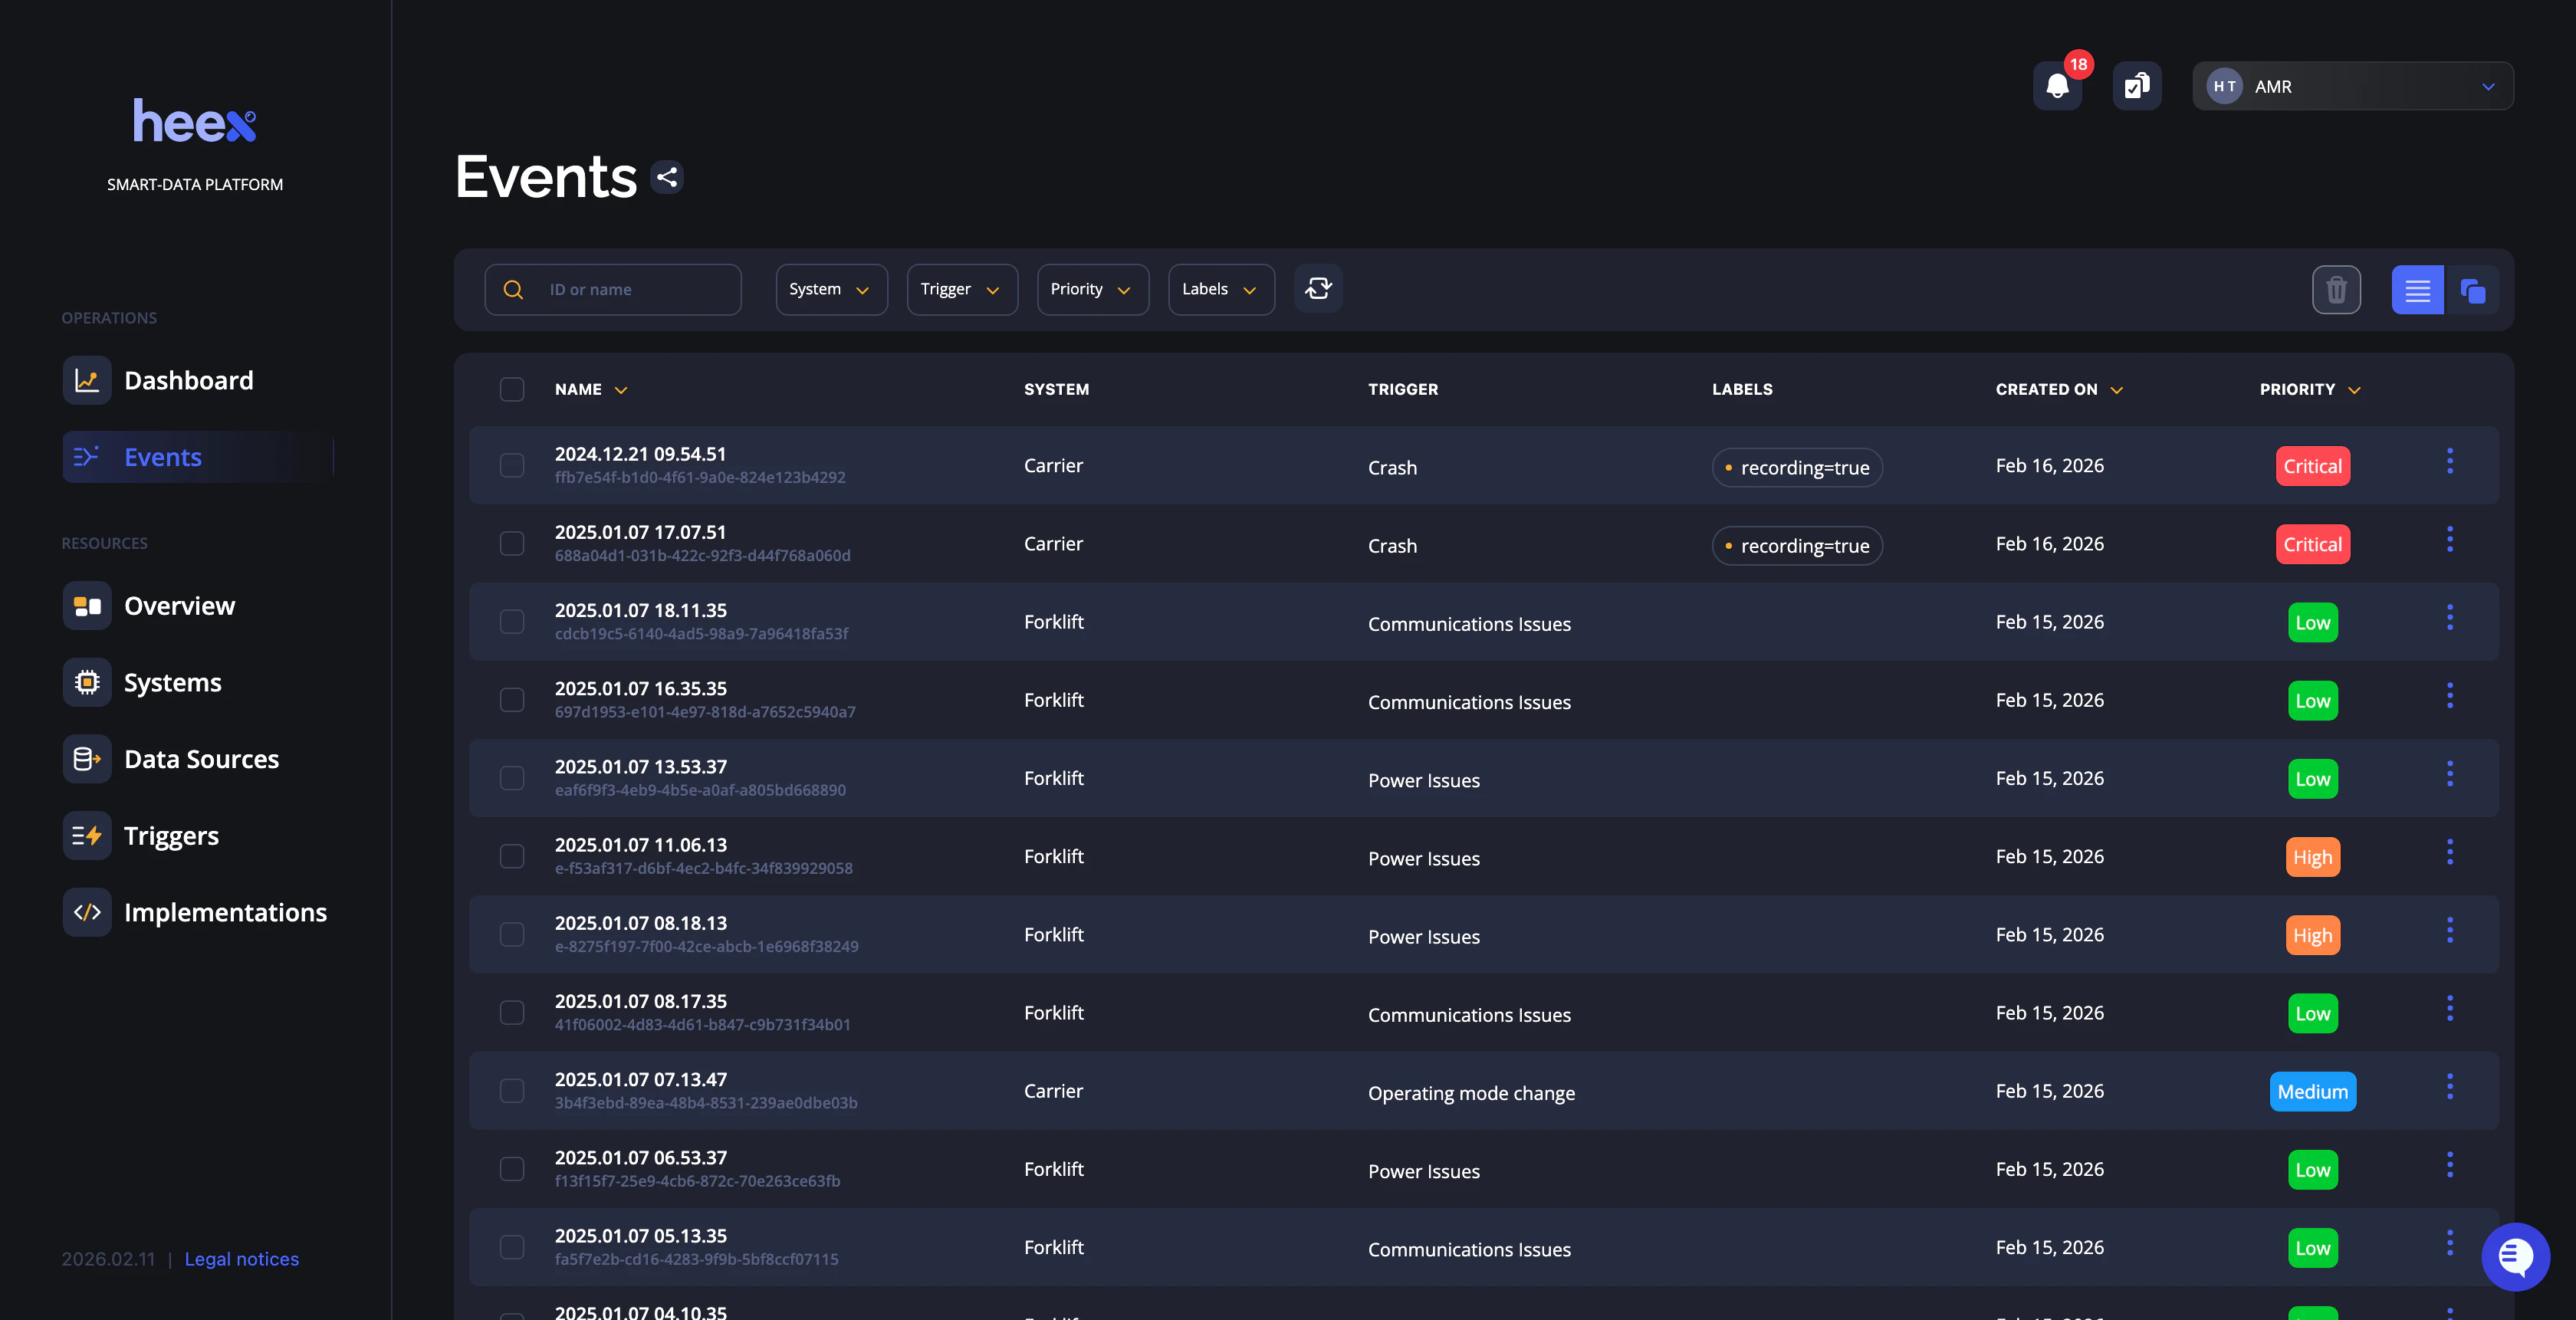
Data exploration
Events list
Overview
It displays all events generated by your systems across your entire workspace, covering all time periods. You can apply filters and view detailed information for each event.Filters
You can use filters to find exactly the events you need. Available filters include:- Systems
- Triggers
- Groups
- Priority
- Labels
Event card
Events are displayed as cards, each providing all the context you need. Each card includes:- A preview or map
- The system that generated the event
- The trigger that initiated it
- Any associated labels
Event details column
To view more details about an event, you can click on “see details” to open the event column. The event details view show you all data about the event.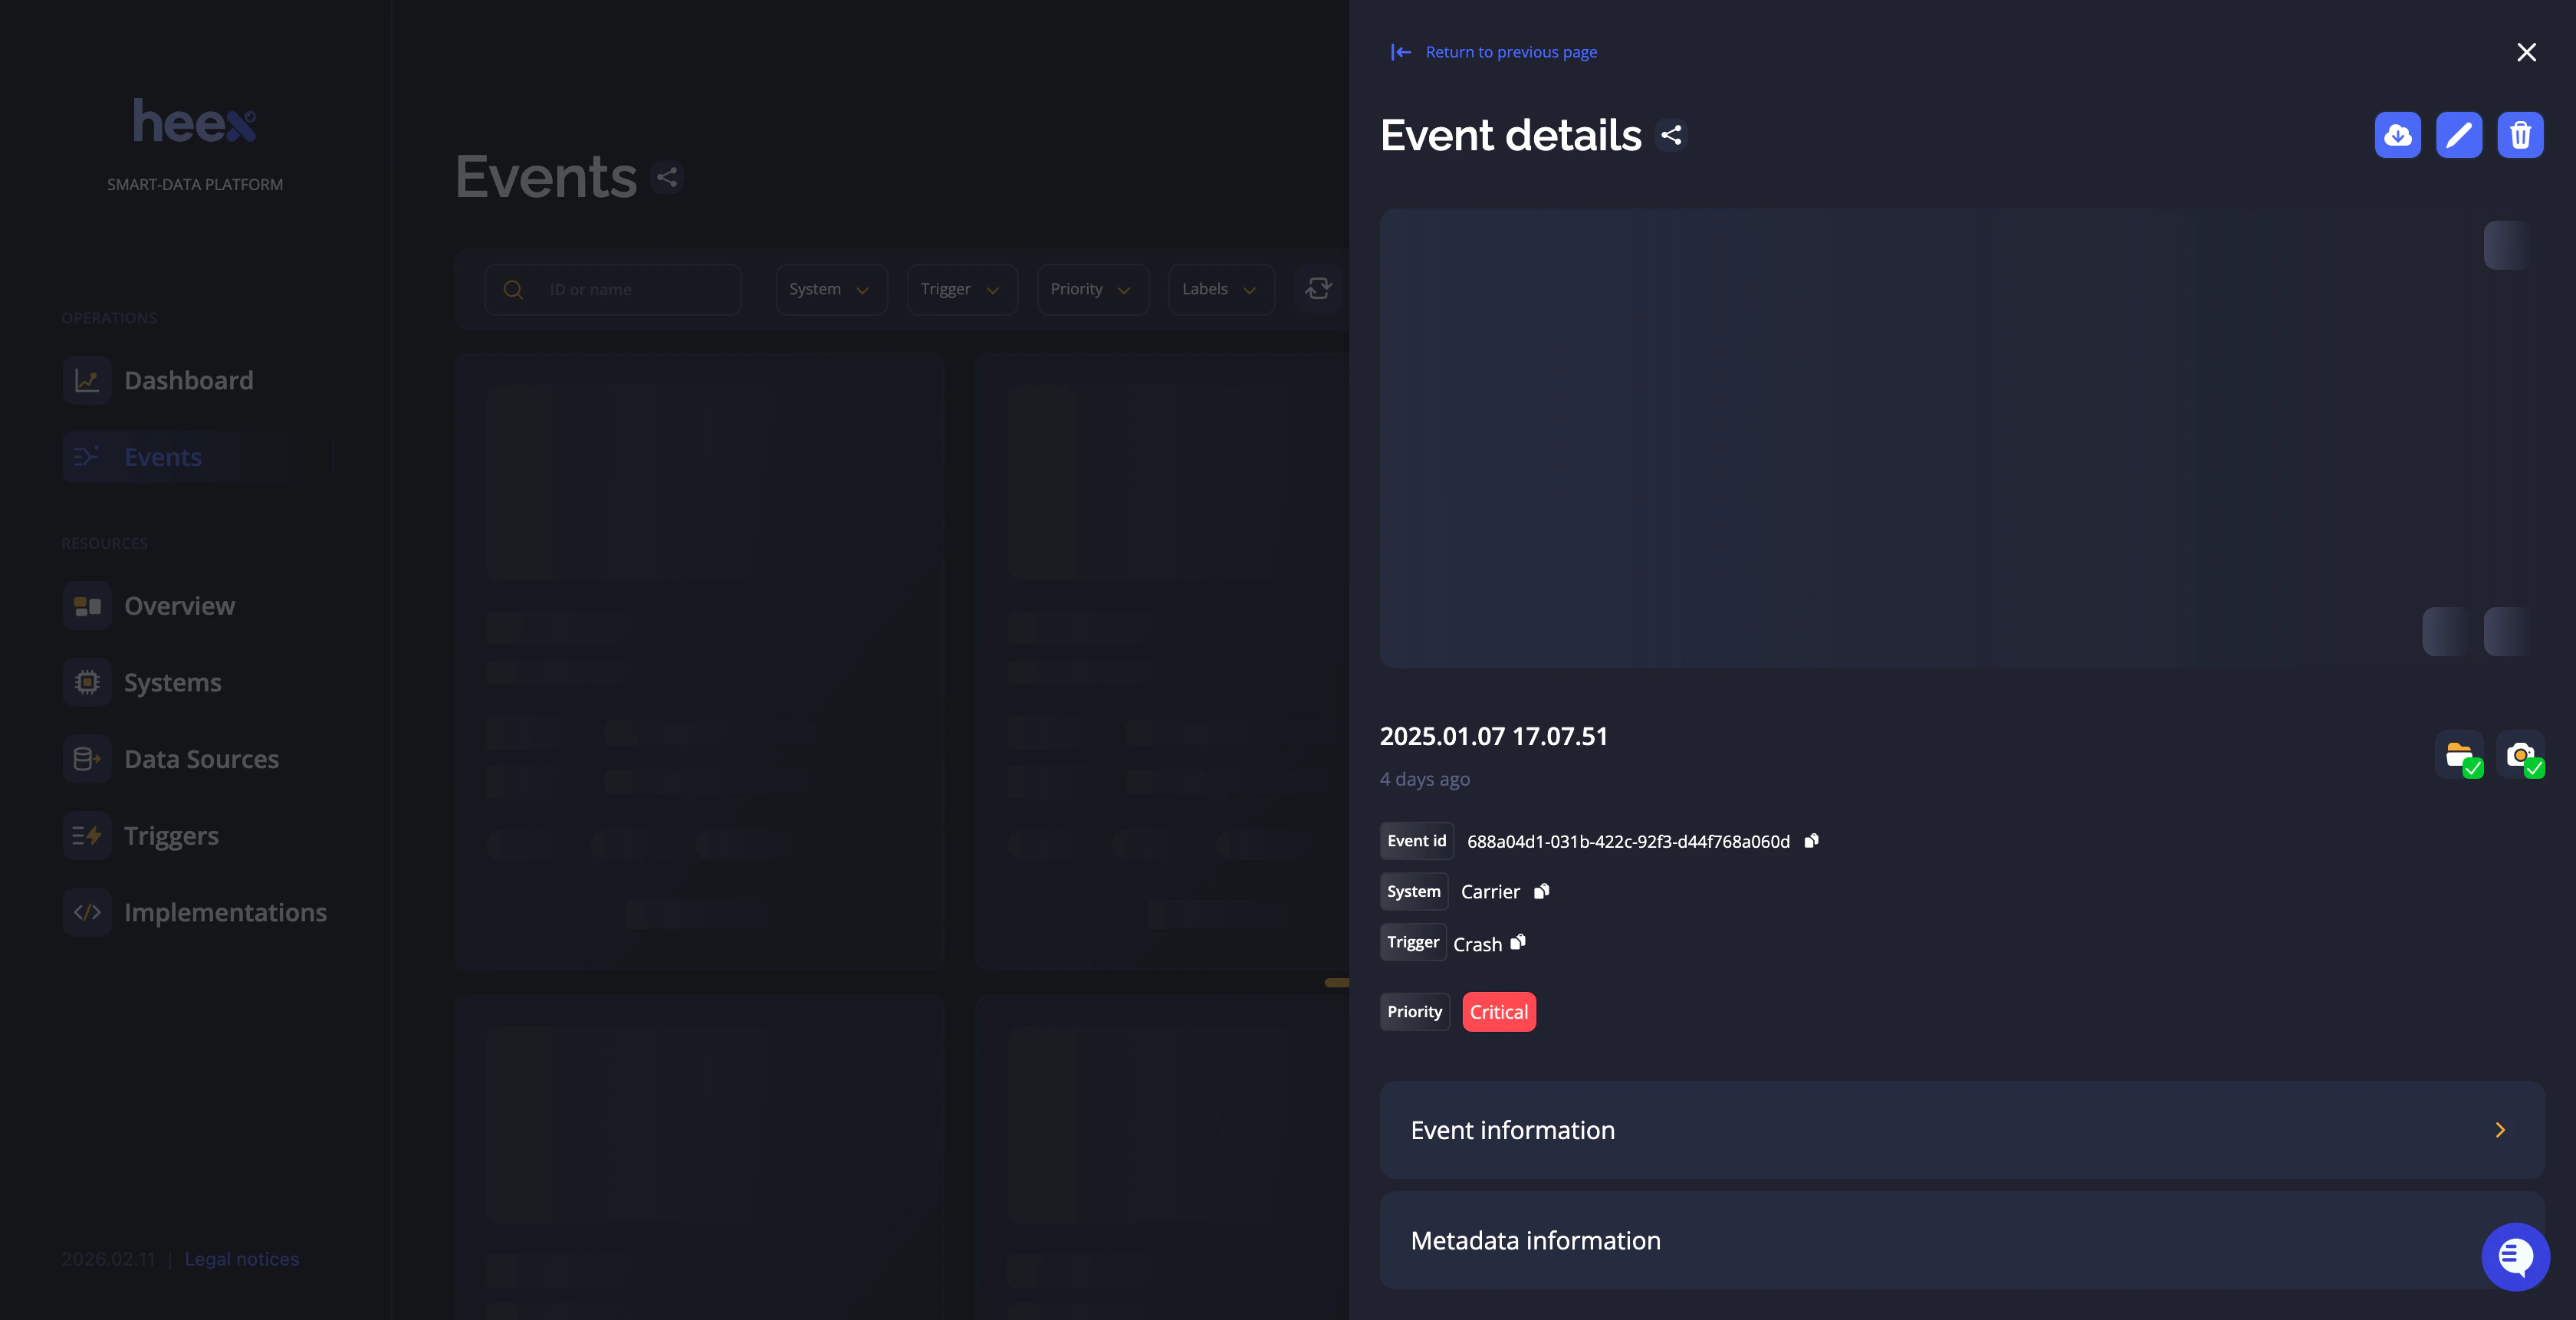
Action button
For the button at the top right of the column, you can do the following actions:- Remove the event
- Update the event: you can update the name, the description, and the labels.
Main information
The top of the event column displays all key information about the event:- Preview and maps
- Timestamp: The exact time the event occurred
- Event ID
- System and trigger that generated the event
- Priority: The event’s priority level
- Labels: Multiple labels are attached to the event, which can be used with the event list’s label filters:
- System labels: labels linked to the system that generated the event, at the time of the event. If system labels are updated later, the event’s labels remain unchanged. You can delete these labels, but cannot create new ones.
- Trigger labels: Labels linked to the trigger that generated the event, recorded at the time of the event. These can be deleted, but no new trigger labels can be added.
- Event labels: labels manually added to the event, through the web application or via the Heex CLI.
- Recording labels: Labels sent directly by the Heex Agent from the recorder, shown in the metadata. These cannot be removed or modified.
Studio
The Studio allows you to explore and visualize ROSbag and MCAP recordings in detail, offering an interactive way to examine recorded events, telemetry, and system insights directly within the app.Metadata
This block contains all metadata information linked to the event:- Timestamp
- Creation date (different to the timestamp if the event is created in the Heex application after the event is generated by the system, for example if you run Heex on an existing Rosbag)
- Recording labels:
- Value instant recording: all value instant recordings configured on triggers. It can be the speed, or the position.
- All recording labels manually added to the recorders used for the event generation.
Recordings
The “Recordings” block displays all recordings generated for the event, including videos, images, or other files configured on the trigger. Each recording provides:- Source Recorder: Identifies the device or system that captured the recording.
- Type: Specifies the format or category of the recording.
- Download Button: Allows you to download the recording directly to your computer.